Is your trimmer line getting dull and not cutting properly? It might be time to change it! In this blog post, we'll teach you how to easily change your trimmer line and the factors you need to know before changing it.
A well-kept lawn is a sign of a well-maintained home and a key part of achieving the perfect lawn is using the right trimmer line. Trimmer line is the thin nylon cord that spins around at high speeds to cut grass and other foliage. Over time, trimmer line wears down and needs to be replaced. The wrong trimmer line can cause damage to your lawn or even your whipper snipper, so it's important to select the right one.
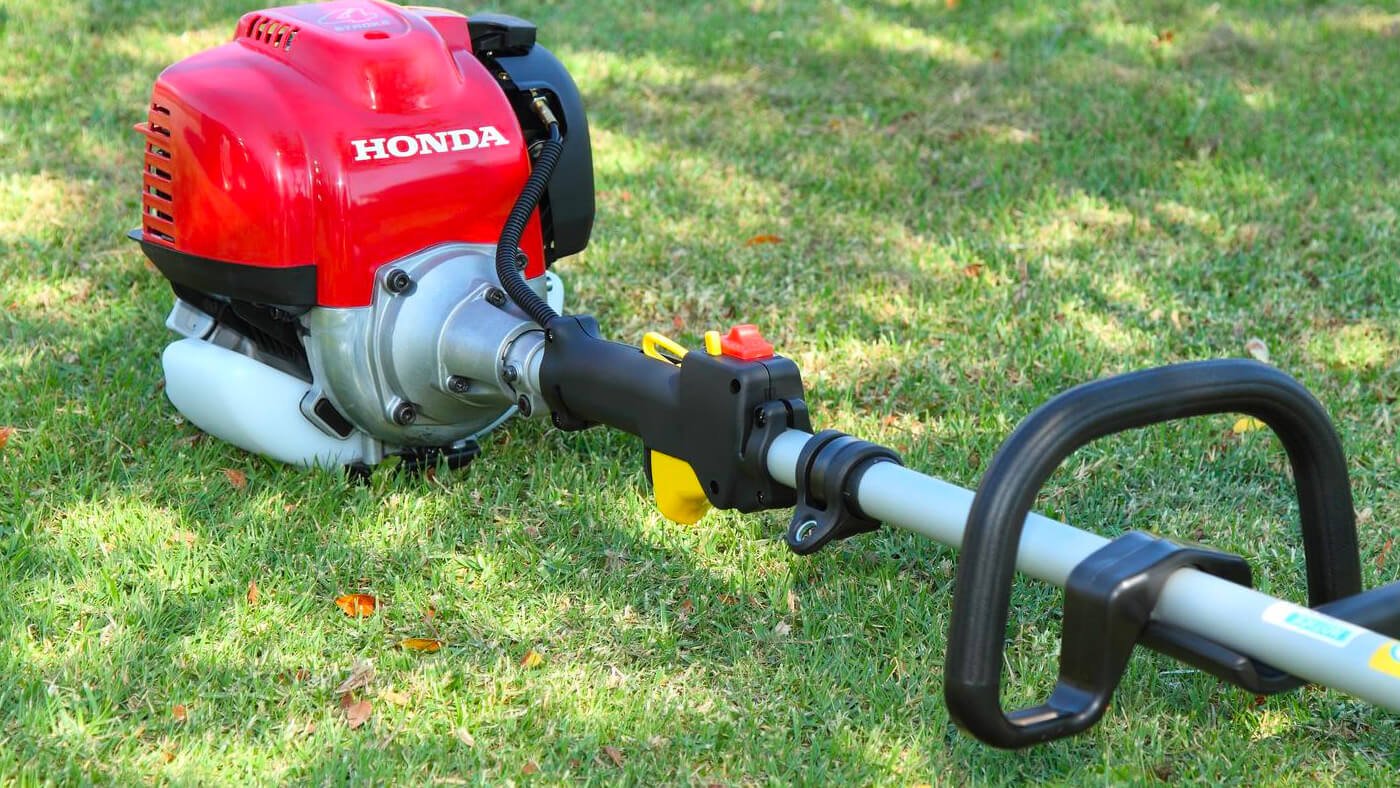
What should you look for when choosing a trimmer line? Well, the answer depends on what type of Trimmer you have, Curved or straight, Petrol or battery and the type of trimmer head found on your unit. You have a range of options when it comes to choosing a trimmer line for your whipper snipper. The most important factor to consider is the thickness of the line.
This will be determined by the shaft type and Engine type of your trimmer as well as the level of growth your wanting to cut through. There are a variety of other factors to consider as well, but if you keep these two factors in mind, you should be able to find the perfect trimmer line for your needs.
Step by Step Guide to Change Your Trimmer Line
1. Remove the old line
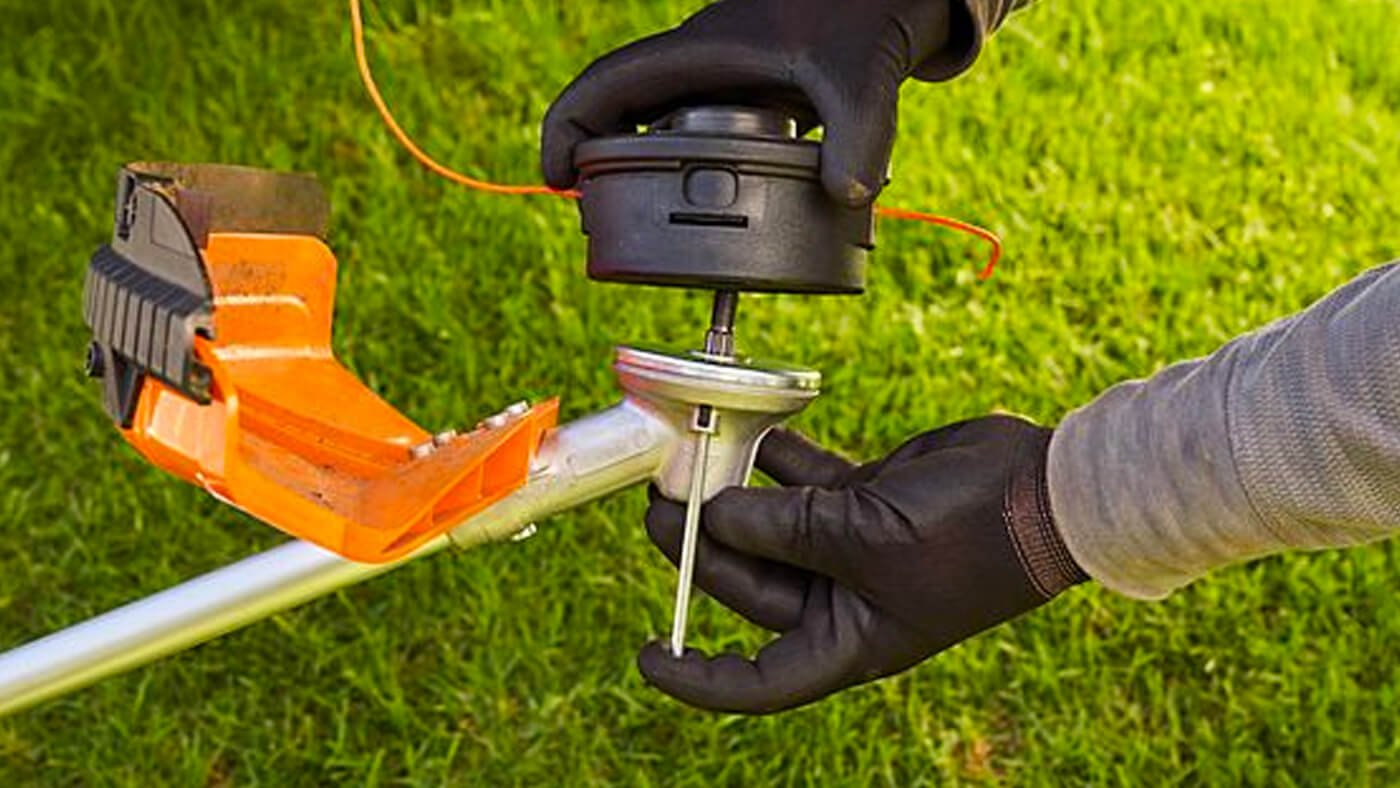
From the trimmer spool, remove the cap holding the spool in place at the top of your trimmer. Carefully unwind the old line from around the spool and discard it.
2. Replace with a fresh new trimmer line. Cut about 2-3 metres of new line from the spool, and wind it the direction indicated on the trimmer spool. Keep an eye out for any tangles or knots as you go, and make sure the line is wound firmly and evenly.
3. Reassemble the top of your trimmer. Once you have the new line securely wound around the spool, replace the cap at the top of your trimmer and make sure it is fastened securely.
4. Turn on the trimmer and you’re ready to go. Your trimmer is now equipped with fresh line, so it should be ready for use. Start up the motor and head out into your yard – happy trimming!
You’ve now changed the line on your trimmer with ease! Remember to check the line periodically for any wear and tear or thinning, and replace it as necessary. The process of changing out your trimmer line is quick and easy, so there’s no need to worry about getting stuck with an old, ineffective line. With regular maintenance, you’ll be able to keep your trimmer in top condition and ready for any job!
If you need help picking out the right line for your needs, call or visit any GYC store. Our knowledgeable staff would be happy to help you choose the best trimmer line for your needs and can also assist you on how to install it.


